HI! Thanks for stopping by today. It's the first of February and this month is full of all sorts of fun things like Valentine's Day and the Spring/Summer CTMH catalog is available starting today!! You have to get this catalog. Inside are over 30 new stamp sets, new embellishments, new paper packs and lots and lots of ideas. Contact me to get your own catalog for only $3.95 unless you would like to make a $25 purchase and then I will give you the catalog for FREE! If you would like more ideas, come back soon. I'm hosting a CTMH blog hop (date to be determined)and each blog will be showcasing creations using the new stamps and paper packets from the Spring/Summer Catalog. Check back soon to find out the date!
WIN A FREE CATALOG!!
Please leave me a comment during the month of February and at the end of the month I will randomly select a name and that person will win a FREE copy of the Spring/Summer CTMH catalog and the newest petite perk stamp set!
Leave a comment today!
Wednesday, February 01, 2012


Spring Purses!

Hey, thanks for stopping by as the Winter weather is slowly dripping away. I'm eagerly awaiting the arrival of Spring! It's time to get rid of the dreary and lookout for the fresh, new, fun colors, sights and sounds of Spring. What better way to celebrate Spring, then with a colorful new purse. Today I'm going to show you how to create a cute little purse with some papers inside for a little notepad or to put some spring photos on! Valentine's Day is just around the corner and it would be great to put some LOVE coupons inside it, or poems expressing your feelings, the possibilities are endless. I've also used these purses and stapled a little bag of candy inside it for a party favor, and as a thank you gift for teachers and teachers aide's. See how many ideas you can come up with to use this idea for and then please write me a comment about it. I LOVE to hear from you!
Supplies:
Pencil
Cardstock
Stapler with staples
Scissors
Adhesive
Ribbon
Inside paper (cardstock or copy paper)
Velcro
Embellishments
Purse Template or Coluzzle Purse Pattern and coluzzle swivel knife
Instructions:

1.) Trace the purse pattern onto your cardstock (I fold at 12x12 piece in half so that I can cut 2 purses out at once)
2.) Cut out your purse


-these pages will be folded so that 2 4x9" pieces will make 4 pages
5.) Fold the inside pages you just cut, in half
6.) Open up your folded pages and place them on top of your opened purse
-the bottom fold of the purse will line up with the fold of your pages


**You may want to use a 1/4" strip of paper instead of ribbon to cover the staples. Sometimes I will use ribbon over the staples on the outside and paper over the staples on the inside. Do whatever you think looks better with the cardstock you chose to use.

10) Fold the bottom of your purse up, and place the other piece of velcro onto the middle of the bottom flap on your purse.
11) Cut ribbon 12" long and adhere it to each side of the top flap of your purse (this is the handle)
12) Embellish as desired!

Faux Suede Embossing Technique
Who wouldn't like a suede looking purse? Here are instructions on how to make your purse look like it's made of suede! It's super easy!

Supplies:
Versamark Ink Pad
Clear embossing powder
Heat gun
Stylus
Instructions:


Wednesday, January 04, 2012
Scrapbook Retreat in Fort Flagler
Last October I went on a 4-day excursion to Fort Flagler, up past Edmonds, WA. It's called Eat, Nap, Scrap and is hosted by Lori Drouin and her mom Gayle (who looks just like my mom). She hosts two retreats a year, one in October and one in the Spring (March 2012). This last retreat had the theme Breast Cancer Awareness. We all got to decorate a shower curtain for a contest and then they had a dress up night with the same theme. There were some really cute shower curtains, but mine WON!! I was sooo excited.

It seems that I never win anything and this is the 2nd time I've won a contest this year! The first contest was at the Quick Quotes Private Reserve at the Great Wolf Lodge in Grand Mounds, WA. Quick Quotes had a bra decorating contest for breast cancer awareness and I made some "C" turtles out of a little bra.

It can be a PAIN to pack up all of your stuff and travel Far, Far, Away to a retreat, but the fun and fellowship and the time to just concentrate in you and your hobby is priceless. Over the years I have made many close friends at these retreats and I look forward to seeing them, as much as I am excited to learn new techniques and scrap and make cards! Look around, and see what there is close to you. If you can't find anything, please contact me, and I will give you the information to sign up for one of the retreats I go to. I would love to see some of you again, and meet some of you in person for the first time! Please leave a comment and let me know where you have gone to scrap in the past and if it is worth it to go again.
Thanks for stopping by and please come back. Hope to see you again real soon! Have a great day! Shellie
It seems that I never win anything and this is the 2nd time I've won a contest this year! The first contest was at the Quick Quotes Private Reserve at the Great Wolf Lodge in Grand Mounds, WA. Quick Quotes had a bra decorating contest for breast cancer awareness and I made some "C" turtles out of a little bra.
It can be a PAIN to pack up all of your stuff and travel Far, Far, Away to a retreat, but the fun and fellowship and the time to just concentrate in you and your hobby is priceless. Over the years I have made many close friends at these retreats and I look forward to seeing them, as much as I am excited to learn new techniques and scrap and make cards! Look around, and see what there is close to you. If you can't find anything, please contact me, and I will give you the information to sign up for one of the retreats I go to. I would love to see some of you again, and meet some of you in person for the first time! Please leave a comment and let me know where you have gone to scrap in the past and if it is worth it to go again.
Thanks for stopping by and please come back. Hope to see you again real soon! Have a great day! Shellie
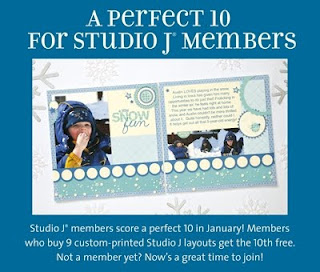
Studio J! Join Today!
January is free layout month for Studio J® members! For every 9 custom-printed Studio J layouts you buy, you’ll receive the 10th layout free. To receive the discount, just add 10 or more layouts to your cart. You’ll see a discount reflected in your order total. And you can totally take advantage of this promotion by ordering in multiples of 10. Buy 9, get 1 free. Buy 18, get 2 free. Buy 27, get 3 free. And so on! If you’re not a member yet, now’s a great time to join!

Rock the Block!
When you place a minimum order of $25 from the Autumn/Winter 2011 Idea Book, you can get two valuable new products for just $15: the My Creations® Collage Cubes (a Spring/Summer 2012 sneak-peek product!) and the exclusive My Acrylix® Rock the Block E-size stamp set (available only during this promotion). This Rock the Block promotion represents a retail savings of almost $30! You're going to love the collage cubes and the Rock the Block stamp set, which work together for interactive, fashionable fun!

Contact me today to place your order and get the NEW Spring/Summer 2012 catalog FREE!

Contact me today to place your order and get the NEW Spring/Summer 2012 catalog FREE!
Monday, August 22, 2011
WOTG Believe Card

Here is the second card I made for the swap using all the new stamp sets in the NEW CTMH Fall/Winter 2011 Catalog. This card was made using the following items:
WOTG Stamp Set Believe (G1030)
WOTG Paper - Believe (G1030)
White Fun Flock
Stardust Glitz Glitter Glue (Z1313)
Scalloped Edge Round Punch (Z1392)
Green Buttons
Crystal Blue Ink Pad (Z2117)
Black Ink Pad (Z2105)
Pear Ink Pad (Z2197)
I absolutely love the gestures this Santa is making, with his arms open wide, welcoming everyone! The fun flock made a great textured fluffy beard, as white as the snow and the glitz added that sparkle that Santa carries everywhere. The bright colors completed the look of this cheery holiday card.

Happy Birthday Card (CTMH)

I just made this card for a swap using all the new stamps in the new CTMH Fall/Winter Catalog 2011. This card was made with the following items:
Roxie Paper (X7140B)
Vanilla Cream Cardstock (X5646)
Celebration Stamp Set (from new Cricut Bundle Z1686)
Silver Glitz Glitter Glue (Z1482)
1/2" border from Roxie paper (excess)
Smoothie Ink Pad (Z2196)
Desert Sand Ink Pad (Z2118)
I love the way that the cupcake liner stamp looks so realistic and swirly. The excess 1/2" border had little silver dots on it and I embellished it further with the silver glitter glue, and added more silver to the cupcake frosting. It's amazing how that little bit of sparkle really jazzed up this card.
Sunday, August 14, 2011
Happy Fall Y'all
A good friend of mine asked me to make her some Thanksgiving cards. This is what I created...


Both cards are similiar. The top card has a portion of a shaped paper in the lower right-hand corner, which reminds me of a piece of pumpkin pie...YUM!! The bottom card has the actual pumpkin that you would use to create that pumpkin pie! Which one do you like better? Please leave me a comment so that I know you have stopped by. Thanks for visiting today and come back soon!
Tuesday, August 09, 2011
Scrapbook Royalty aka Charity Wings
There is a wonderful group of people who are called Scrapbook Royalty or Charity Wings. You can see some of their incredible activities here...
http://tinyurl.com/3cjx76u
They have a Blog http://charitywingsnews.blogspot.com/
They have Ebay auctions http://donations.ebay.com/charity/charity.jsp?NP_ID=47718
and are on Facebook and Twitter, please check them out and support their cause today!
http://tinyurl.com/3cjx76u
They have a Blog http://charitywingsnews.blogspot.com/
They have Ebay auctions http://donations.ebay.com/charity/charity.jsp?NP_ID=47718
and are on Facebook and Twitter, please check them out and support their cause today!
FREE Stamps!!!
If you like CTMH stamps, then you should definately order from CTMH this month! There are some incredible promotions from CTMH in August. The new catalog is available to purchase for $3.95
 If you want to place an order I will give you the catalog for FREE!
The new cricut bundle is available for only $99 and includes the cricut cartridge, 3 new stamp sets and 3 new sets of dimensionals!


Can you believe the flowers that were made with the new cartridge? There are so many things you can create with it!
If you place an order of $75 or more after August 15th, then you qualify for this amazing Double D stamp set for FREE!!!

Once you spend $50 in August, then you qualify for the August Stamp of the Month for ONLY $5 (or purchase separately for only $17.95). This is the NEW stamp of the month program!

IN CELEBRATION OF OUR NEW STAMP OF the Month program, we’re throwing in a little something extra: a FREE* bonus stamp set! In August, when you place
an order of $50 or more in products and purchase the August Stamp of the Month set, Wicked, for just $5, you’ll receive the My Acrylix® A Typeface bonus A-size set FREE (retail value $6.95)! Think of it as two promotions in one—qualify for and purchase the discounted August Stamp of the Month set, and we’ll throw in a second stamp set FREE! It’s Extra! Extra!

Take advantage of these incredible August Specials! Oh, CTMH has also changed their hostess policy. Now you can have a party of ONE with just yourself and still qualify for FREE hostess rewards. The more you spend the more you can get for FREE or at reduced prices. Hostess Rewards begin once you have spent $150 (or more) on one order. Place your order today at http://www.shellies.myctmh.com OR contact me and sign up for the monthly Workshops on the Go. This month I am offering the Mischief WOTG. Contact me on my website for more information.

I look forward to hearing from you today and helping you preserve your memories for tomorrow.

The new cricut bundle is available for only $99 and includes the cricut cartridge, 3 new stamp sets and 3 new sets of dimensionals!


Can you believe the flowers that were made with the new cartridge? There are so many things you can create with it!
If you place an order of $75 or more after August 15th, then you qualify for this amazing Double D stamp set for FREE!!!
Once you spend $50 in August, then you qualify for the August Stamp of the Month for ONLY $5 (or purchase separately for only $17.95). This is the NEW stamp of the month program!

IN CELEBRATION OF OUR NEW STAMP OF the Month program, we’re throwing in a little something extra: a FREE* bonus stamp set! In August, when you place
an order of $50 or more in products and purchase the August Stamp of the Month set, Wicked, for just $5, you’ll receive the My Acrylix® A Typeface bonus A-size set FREE (retail value $6.95)! Think of it as two promotions in one—qualify for and purchase the discounted August Stamp of the Month set, and we’ll throw in a second stamp set FREE! It’s Extra! Extra!

Take advantage of these incredible August Specials! Oh, CTMH has also changed their hostess policy. Now you can have a party of ONE with just yourself and still qualify for FREE hostess rewards. The more you spend the more you can get for FREE or at reduced prices. Hostess Rewards begin once you have spent $150 (or more) on one order. Place your order today at http://www.shellies.myctmh.com OR contact me and sign up for the monthly Workshops on the Go. This month I am offering the Mischief WOTG. Contact me on my website for more information.

I look forward to hearing from you today and helping you preserve your memories for tomorrow.
Wednesday, August 03, 2011
CHECK OUT this ENVELOBOX!!!
Holley Barnhart is on the Design Team for Crafter's Companion USA. They have wonderful stamps and great products; one of the newest tools is the Envelobox board. With this tool, you can make envelopes any size and any depth. This addition is so perfect for bulky or specialty cards, with the deep embellishments that we all love to add to our projects. She has done projects on her blog to highlight this project and there have been wonderful projects shown on the Crafter's Companion USA blog and the Challenger's blog!

Not only are their products lots of fun AND cool, but they have given each design team member an Envelobox to give away to one lucky U.S. resident! Here's how you can own this amazing tool... Simply become a follower of Crafter's Companion USA challenge blog and leave a comment. You must do this to win. If you'd like a couple more chances to win, then post about this giveaway on your blog/sidebar and become a fan of Crafter Companion USA's Facebook page(i.e. one entry credit per item completed). This contest will run for one week from August 1st through August 7th.
.

Not only are their products lots of fun AND cool, but they have given each design team member an Envelobox to give away to one lucky U.S. resident! Here's how you can own this amazing tool... Simply become a follower of Crafter's Companion USA challenge blog and leave a comment. You must do this to win. If you'd like a couple more chances to win, then post about this giveaway on your blog/sidebar and become a fan of Crafter Companion USA's Facebook page(i.e. one entry credit per item completed). This contest will run for one week from August 1st through August 7th.
.
Thursday, July 28, 2011
CTMH NEWS!!!


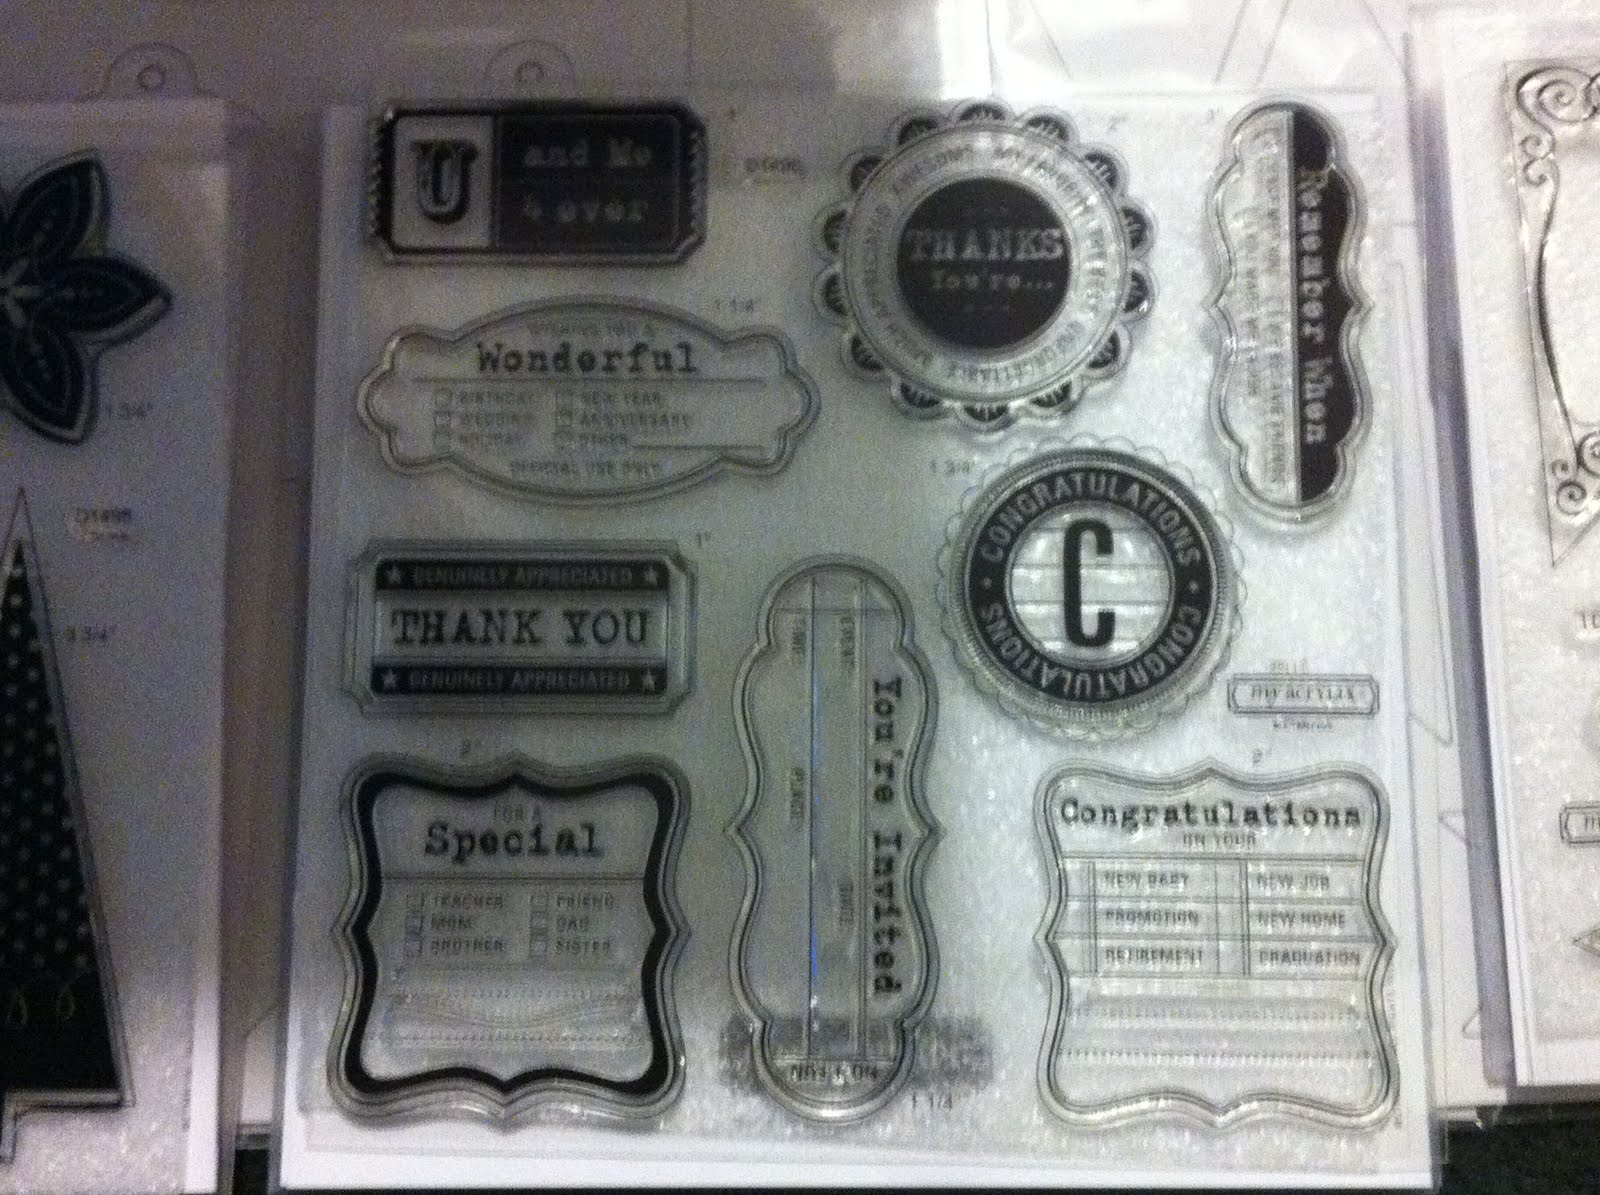

I learned so many new and exciting things at the CTMH convention this month, I don't know where to start! The new catalog is realeased August 1 and you don't want to miss the exciting new things that are in it! My favorite thing is our new Cricut Cartridge designed for CTMH! It has 700 new images to use and comes with 3 new stamp sets and 3 new sets of chipboard dimensionals! All for only $99!!! That is a bargain considering you get the cartridge AND the stamps AND the dimensionals, usually it would be around $66 alone for the 3 stamp sets! I just got my cartridge and can't wait to get creative! Come back soon to see what I have created! Please leave me a comment and let me know how you feel about this exciting new addition to the CTMH scrapbooking items.
Disney Fireworks and World of Color Extravaganza
Every night at Disney was just as magical as the day! We were able to see the fireworks everynight from our hotel, the Alamo. The photos are a bit blurry because they were taken with my phone, but you can still imagine the excitement of each explosion! They also had two shows each night for the World of Color Spectacular light and water show. It was set along the California Pier in California Adventureland. I didn't capture every amazing moment, but I am sure you can enjoy the show by watching my short video of the event. It was a wonderful show and I thank you for taking the time to enjoy it today! Please leave me a comment and let me know how you like my video and share any of your favorite Disney experiences too!


Ariel's Undersea Adventure
Ariel is my most favorite Disney princess, I think because she is a merbabe! I have always loved the ocean, and try to go there at least once a year and share that love with my family. I was appalled at how the mermaids were portrayed in the last Pirate's of the Carribean movie. I can't imagine mermaids being so cunning and evil! So I choose to imagine them like Ariel. This was the first ride we went on when we got to California Adventure! It was also the last ride I went on before we left. It was absolutely amazing! I wish I could add the songs Under the Sea and Kiss the Girl to my video, I'm not that experienced with the movie making process to add my own sound bytes yet...but imagine those songs as you watch my video. Thanks for taking the time to share in my adventure...please leave me a comment and let me know how you liked my video and feel free to share your favorite Disney moment too! ENJOY!!


Our Trip to Disneyland
We recently got back from a wonderful vacation at Disneyland. It was both business and pleasure! The pleasure was Disneyland! The business was my first CTMH convention! It was awesome, and I made some new friends and got lots of new ideas! Enjoy a little bit of Disney with me by watching my video! Please leave me a comment and let me know how you liked my video and feel free to share your favorite Disney moment too! ENJOY!!


Monday, June 27, 2011
New Cards!
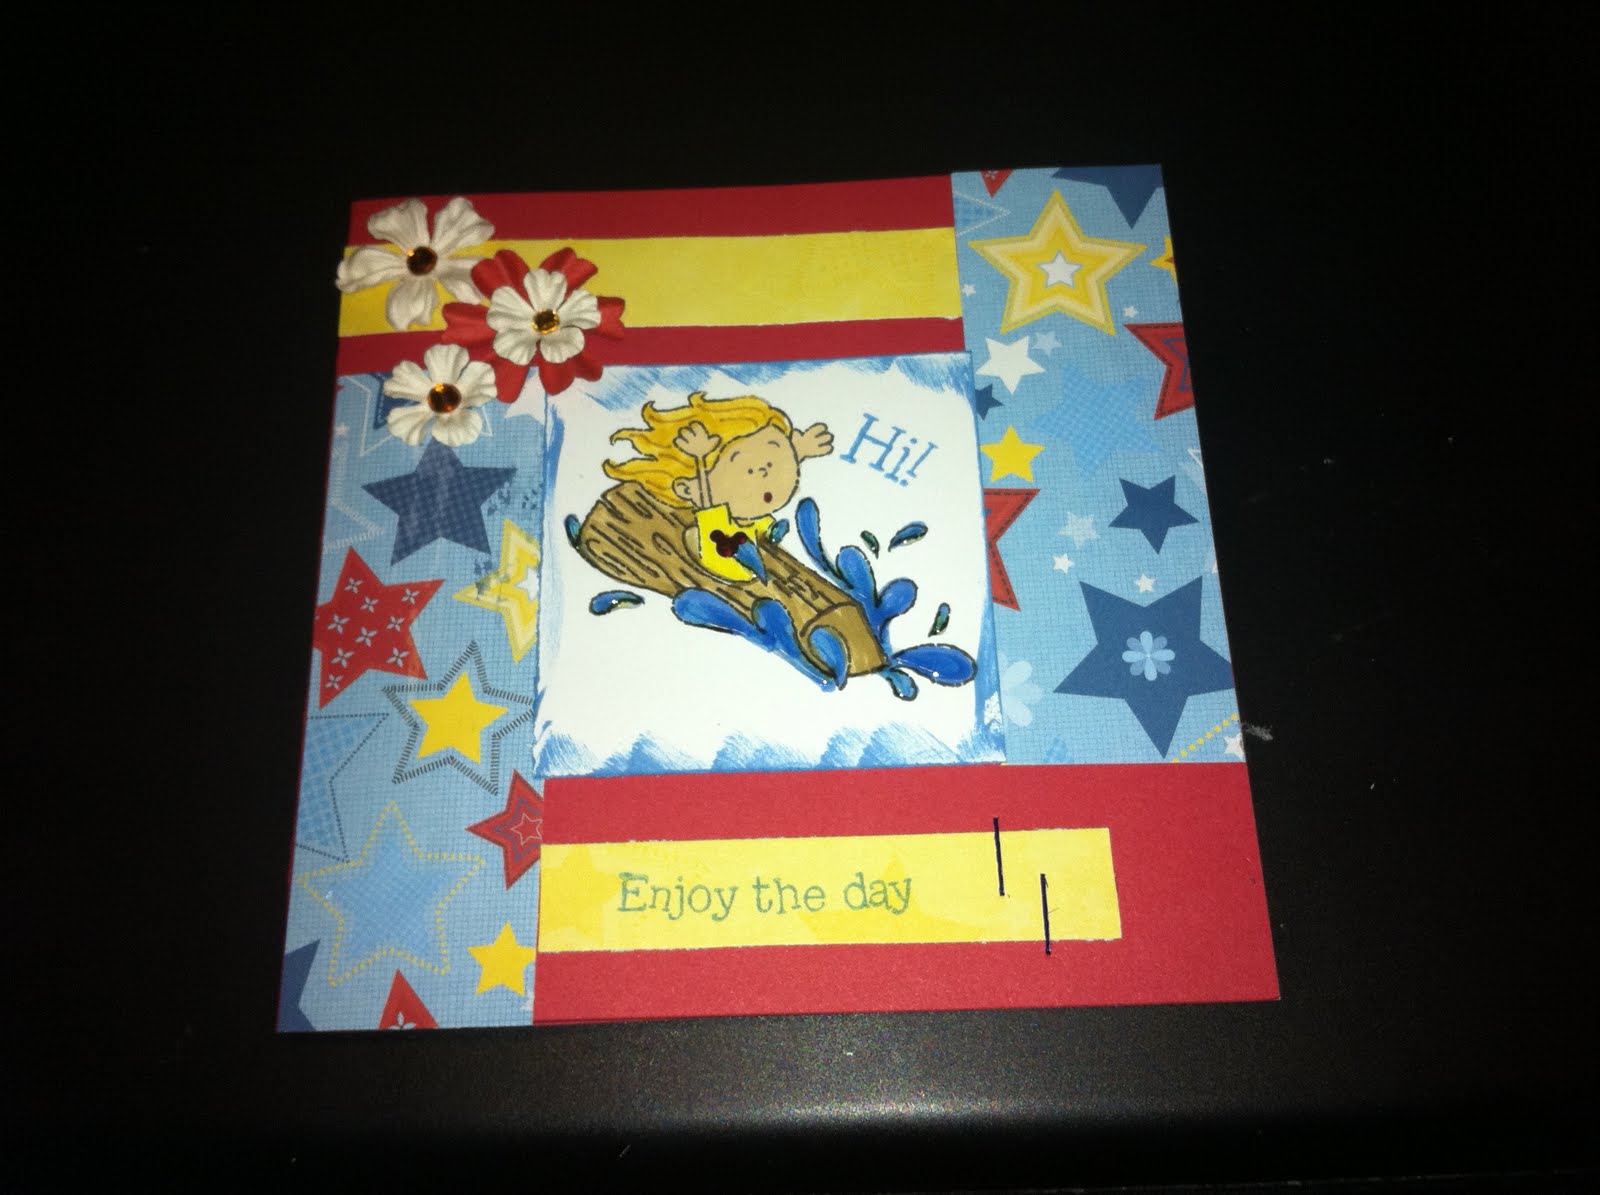
Hi! Thanks for stopping by! I am a consultant with Close To My Heart and will be attending my FIRST convention next month at DISNEYLAND!! I am soo excited. I have been told that consultants bring handmade cards to trade at the convention. My fantastic upline, Shannon Buck, suggested I make between 50 - 200 cards to trade! What a task! So far I have made 50 cards to trade. I wanted them to be bright and use the theme park as my focal of attention. This is what I came up with....

My first card was done with Cranberry cardstock (1272) and the Zipidee Level 2 patterned paper pack (X7125B). I used stamps from the set Thrill Ride (D1425)and the sentiment was stamped with Curly Sentiments (C1056). I embellished the card with Sparkles Z1327 Blue and Green Assortment and Z1326 Red, Pink & Purple Assortment. I cut the circles out with my coluzzle and then punched out the heart with a heart shaped punch. I think it turned out pretty cute.
My second set of cards were made with Tulip cardstock (X5753) and the Fanfare Level 2 Paper packet (7138B). I used stamps from the Theme Park set (D1430) and the sentiment from the For Every Occasion set (D1187). I stamped each of the four images from the Theme Park set to make these cards. These turned out adorable!


I am so thankful that you read my post today! Please leave me a comment, and let me know you stopped by! Have a scraptastic day!! Shellie

My first card was done with Cranberry cardstock (1272) and the Zipidee Level 2 patterned paper pack (X7125B). I used stamps from the set Thrill Ride (D1425)and the sentiment was stamped with Curly Sentiments (C1056). I embellished the card with Sparkles Z1327 Blue and Green Assortment and Z1326 Red, Pink & Purple Assortment. I cut the circles out with my coluzzle and then punched out the heart with a heart shaped punch. I think it turned out pretty cute.
My second set of cards were made with Tulip cardstock (X5753) and the Fanfare Level 2 Paper packet (7138B). I used stamps from the Theme Park set (D1430) and the sentiment from the For Every Occasion set (D1187). I stamped each of the four images from the Theme Park set to make these cards. These turned out adorable!


I am so thankful that you read my post today! Please leave me a comment, and let me know you stopped by! Have a scraptastic day!! Shellie
Thursday, June 23, 2011
S is for Shaving Cream Technique

I am in a scrapbooking group called ScrapbookPlace. This month there is a contest where everyday a task is listed and if you complete the task, and upload a photo of it you can earn points. One of the tasks was to create a title using shaving cream, plastic and metal. I created the above title using the shaving cream technique. It is a LOT of FUN so I thought I would share it with you for my Tuesday Technique (although it is really Thursday). This is how you do the Shaving Cream Technique...

Materials Needed:
Shaving Cream (not gel)
cookie sheet or shallow pan
spatula
Reinkers (2-3 work best)
Glossy Paper (cardstock works too, but glossy paper turns out more vibrant)
Instructions:
1.) Squirt the shaving cream all over your cookie sheet (or shallow pan)

2.) Spread the shaving cream evenly over your cookie sheet (or pan)

3.) Drop the reinkers all over the shaving cream.

4.) Use the spatula to spread the reinkers over the shaving cream. Swipe it up and down the length of the cookie sheet (or pan), swirling the colors together.

5.) Place your paper over the swirly shaving cream and carefully pat it down into the shaving cream.

6.) Lift your paper off of the shaving cream.

7.) Use the spatula to scrape the shaving cream off of the paper. It will leave a swirly image created from the colored shaving cream.

8.) Let your paper dry and then use it to create a layout, card, tag or title! Have fun and be creative! This is a GREAT project for kids too and it makes your kitchen smell FRESH!

Please leave me a comment and let me know what you think of this technique; if you have tried it before; or just that you stopped by. I love to hear from you! Thanks for stopping by and come back soon! Have a scrappy day! Shellie
Subscribe to:
Posts (Atom)